Liniment Cake

For those of you who haven’t read Anne of Green Gables, the title of this post may look like a mistake. Trust me, dear readers, that this cake does not involve any actual liniment! The Anne of Green Gables books and movies were a staple of my childhood, and I even got The Anne of Green Gables Cookbook when I was little. (You may remember the wonderful lemonade recipe I posted from this book.)
As the story goes, Anne accidentally flavored the cake she was making with anodyne liniment instead of vanilla. Marilla had broken the liniment bottle and poured what was left into an empty vanilla bottle, which Anne then used in the cake. Oops! So this is the cake that Anne meant to make when she mistakenly substituted liniment for the vanilla! Make sure you put the vanilla in yours…
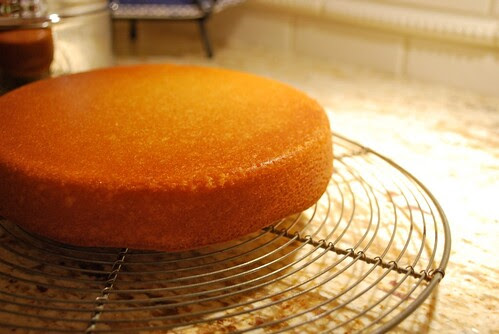
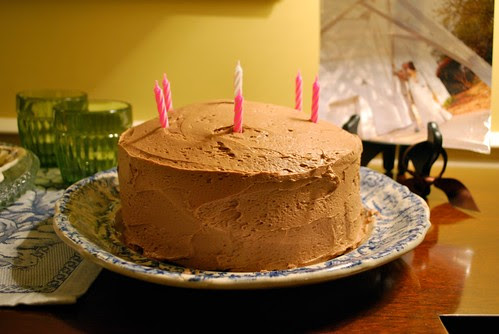
This has been a go-to cake recipe in my family for many years. We have used it for many birthdays. (This one was for my mom’s birthday!) The cake is incredibly versatile, and it always turns out fluffy, buttery, and deliciously moist! My favorite way to serve it is with a melt-in-your-mouth chocolate frosting. I hope you will give it a try!
Liniment Cake
from The Anne of Green Gables Cookbook by Kate Macdonald (1985)
2 cups flour
1 1/4 cup sugar
1 tablespoon baking powder
1 pinch of salt
1 cup whole milk
1/2 cup butter, melted
3 large eggs
2 teaspoons vanilla (not liniment!)
Preheat your oven to 350 degrees. Grease and flour two round cake pans (8″ or 9″ pans will work).
In a large electric mixing bowl, combine the flour, sugar, baking powder, and salt. Add the milk and the butter, and beat the mixture for at least one minute, until smooth and creamy. Add the eggs, one at a time, beating the mixture and scraping down the sides of the bowl after each addition. Add the vanilla and beat again for at least three minutes.
Pour the batter evenly into the two prepared pans. Bake for 25-30 minutes, or until a toothpick inserted into the center of the cake comes out clean. Cool in the pans for about 10 minutes before turning out onto cooling racks to cool completely.

Meanwhile, make whatever icing or filling you desire. A nice buttery chocolate icing like the one in this post matches this cake perfectly. Frost the top of the first layer; then top with the second layer, and frost the top and sides. Enjoy!


